Shin Splints Injury Guide
Let’s imagine a world full of possibilities. You have set goals and are achieving them on a daily basis. You are on track for reaching new levels of fitness, prowess, and there seems to be no end in sight. But then it hits, a terrible pain in the lower half of your legs, along your shin line – shin splints.
You wouldn’t be the first to experience this terrible occurrence with more than 3 million US cases reported every year. But no matter how common, they are never welcomed and the great fear of, “When will they be healed? When can I workout again? I can’t do anything, what about all my hard work and progress?” will start to set in. Luckily, shin splints are usually self-treatable requiring no lab tests, imaging, or visits to the doctor.
What are Shin Splints?
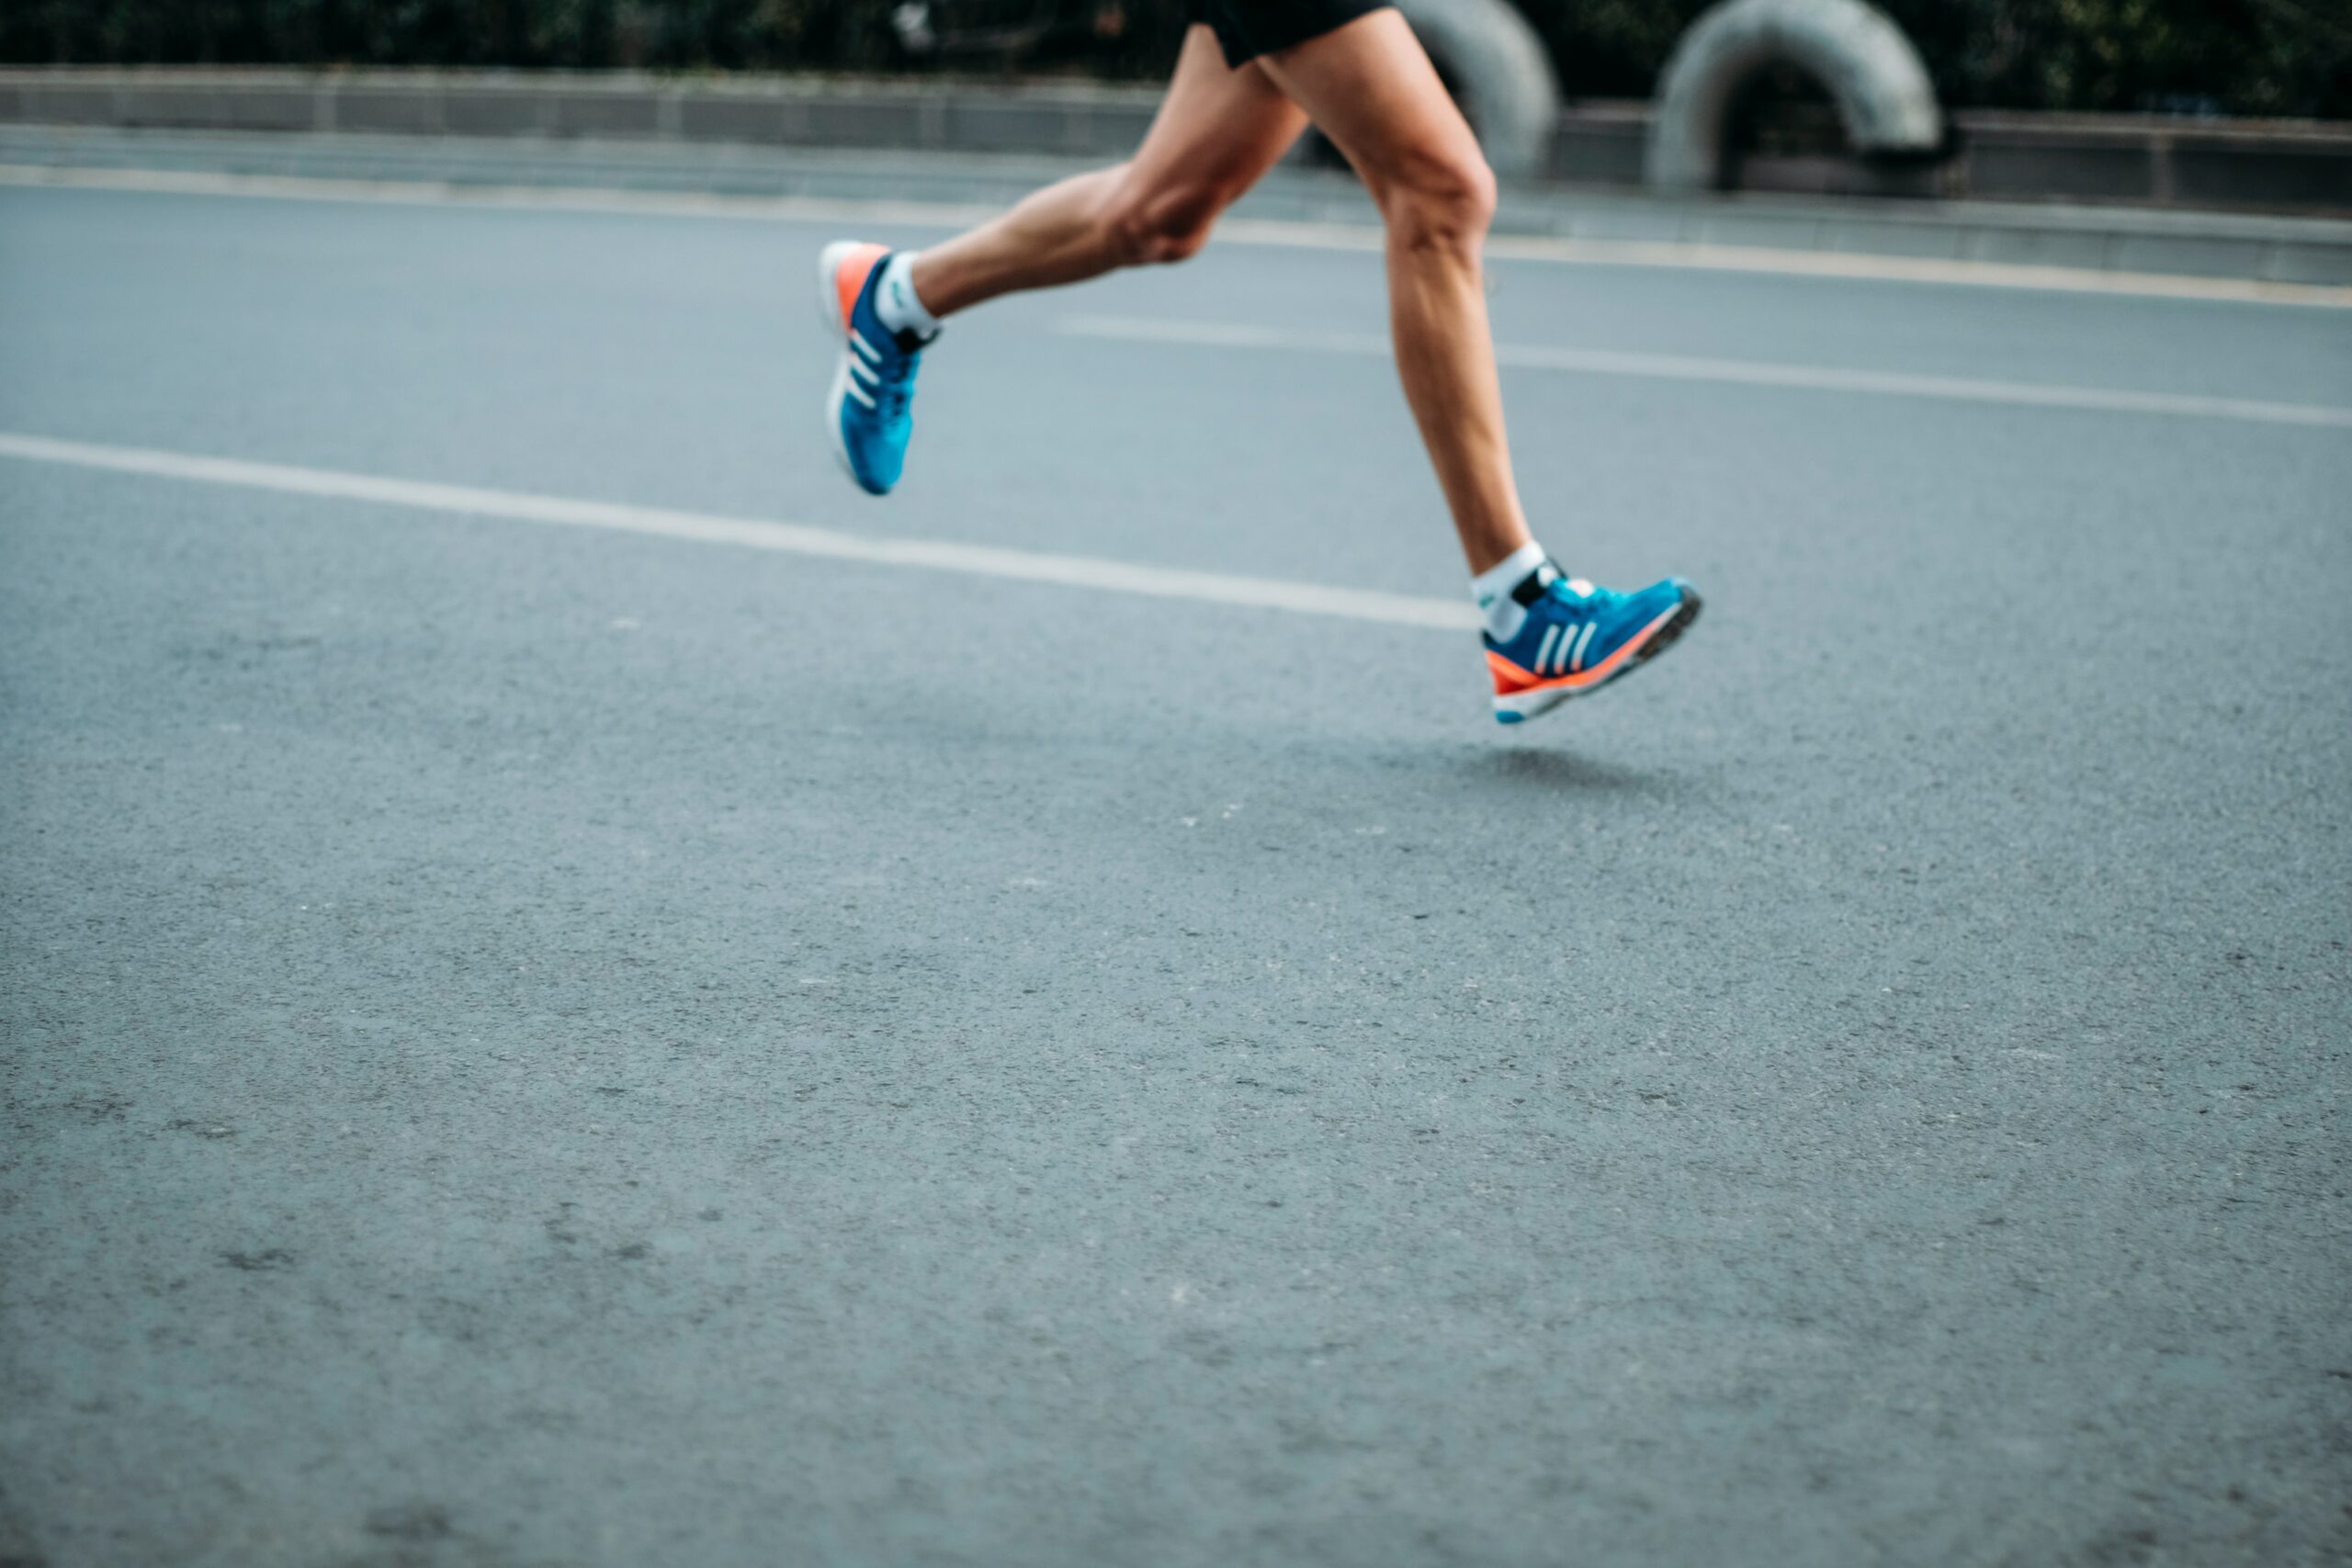
Shin splints are a result from muscle and bone tissues being overworked. They are most frequent in runners, but have also appeared in CrossFitters, weight lifters, and other athletes. Most athletes who experience shin splints have recently changed training styles or have been increasing their frequency or intensity in their training.
The symptoms are common, sharp pain in the front or anterior side of the shins when running or placing too much force on them. When at rest or staying light on the lower body, the symptoms are a pain that is constant, dull, achy and sometimes radiating or throbbing.
How to Get Rid of Shin Splints?
Shin Splints Treatment Options
Research shows that the best treatments are rest, ice, compression, elevation, (RICE), stretching and strength training. However, be careful; although resting from hard physical activity is most commonly suggested, this does not necessarily mean you should stop movement entirely.
Movement, motion, and rest can help expedite the healing process and have you back to a normal routine within as short as a few days. The body thrives when it is in motion; it is able to calibrate, adjust, and notify our minds of nuances that could have gone unnoticed if confined to a couch or bed the entire day. If motion ceases all together, the muscle tissues will start to atrophy – potentially causing new or greater issues down the road.
Shin Splint Recovery Options
If a certain exercise is exacerbating the shin splints, avoid the activity, but as previously stated, stay in motion. Performing other types of activities can offer a great solution to the current issues. Cross training or dabbling in different modalities of movement and exercise may not only help your body maintain its healthful state, it may also accelerate the healing process as well as keep your mind happy.
Below are a couple of options to keep your body in motion and your mind active while journeying through the healing process.
Swimming
Swimming can offer a fantastic anaerobic or aerobic workout depending on the goal or how energetic you may be feeling that day. Swimming can allow your body to work in unison by placing light force on your entire body. This creates a safer, low impact, and resistance style of training that can not only help maintain fitness but also aid in the healing process.
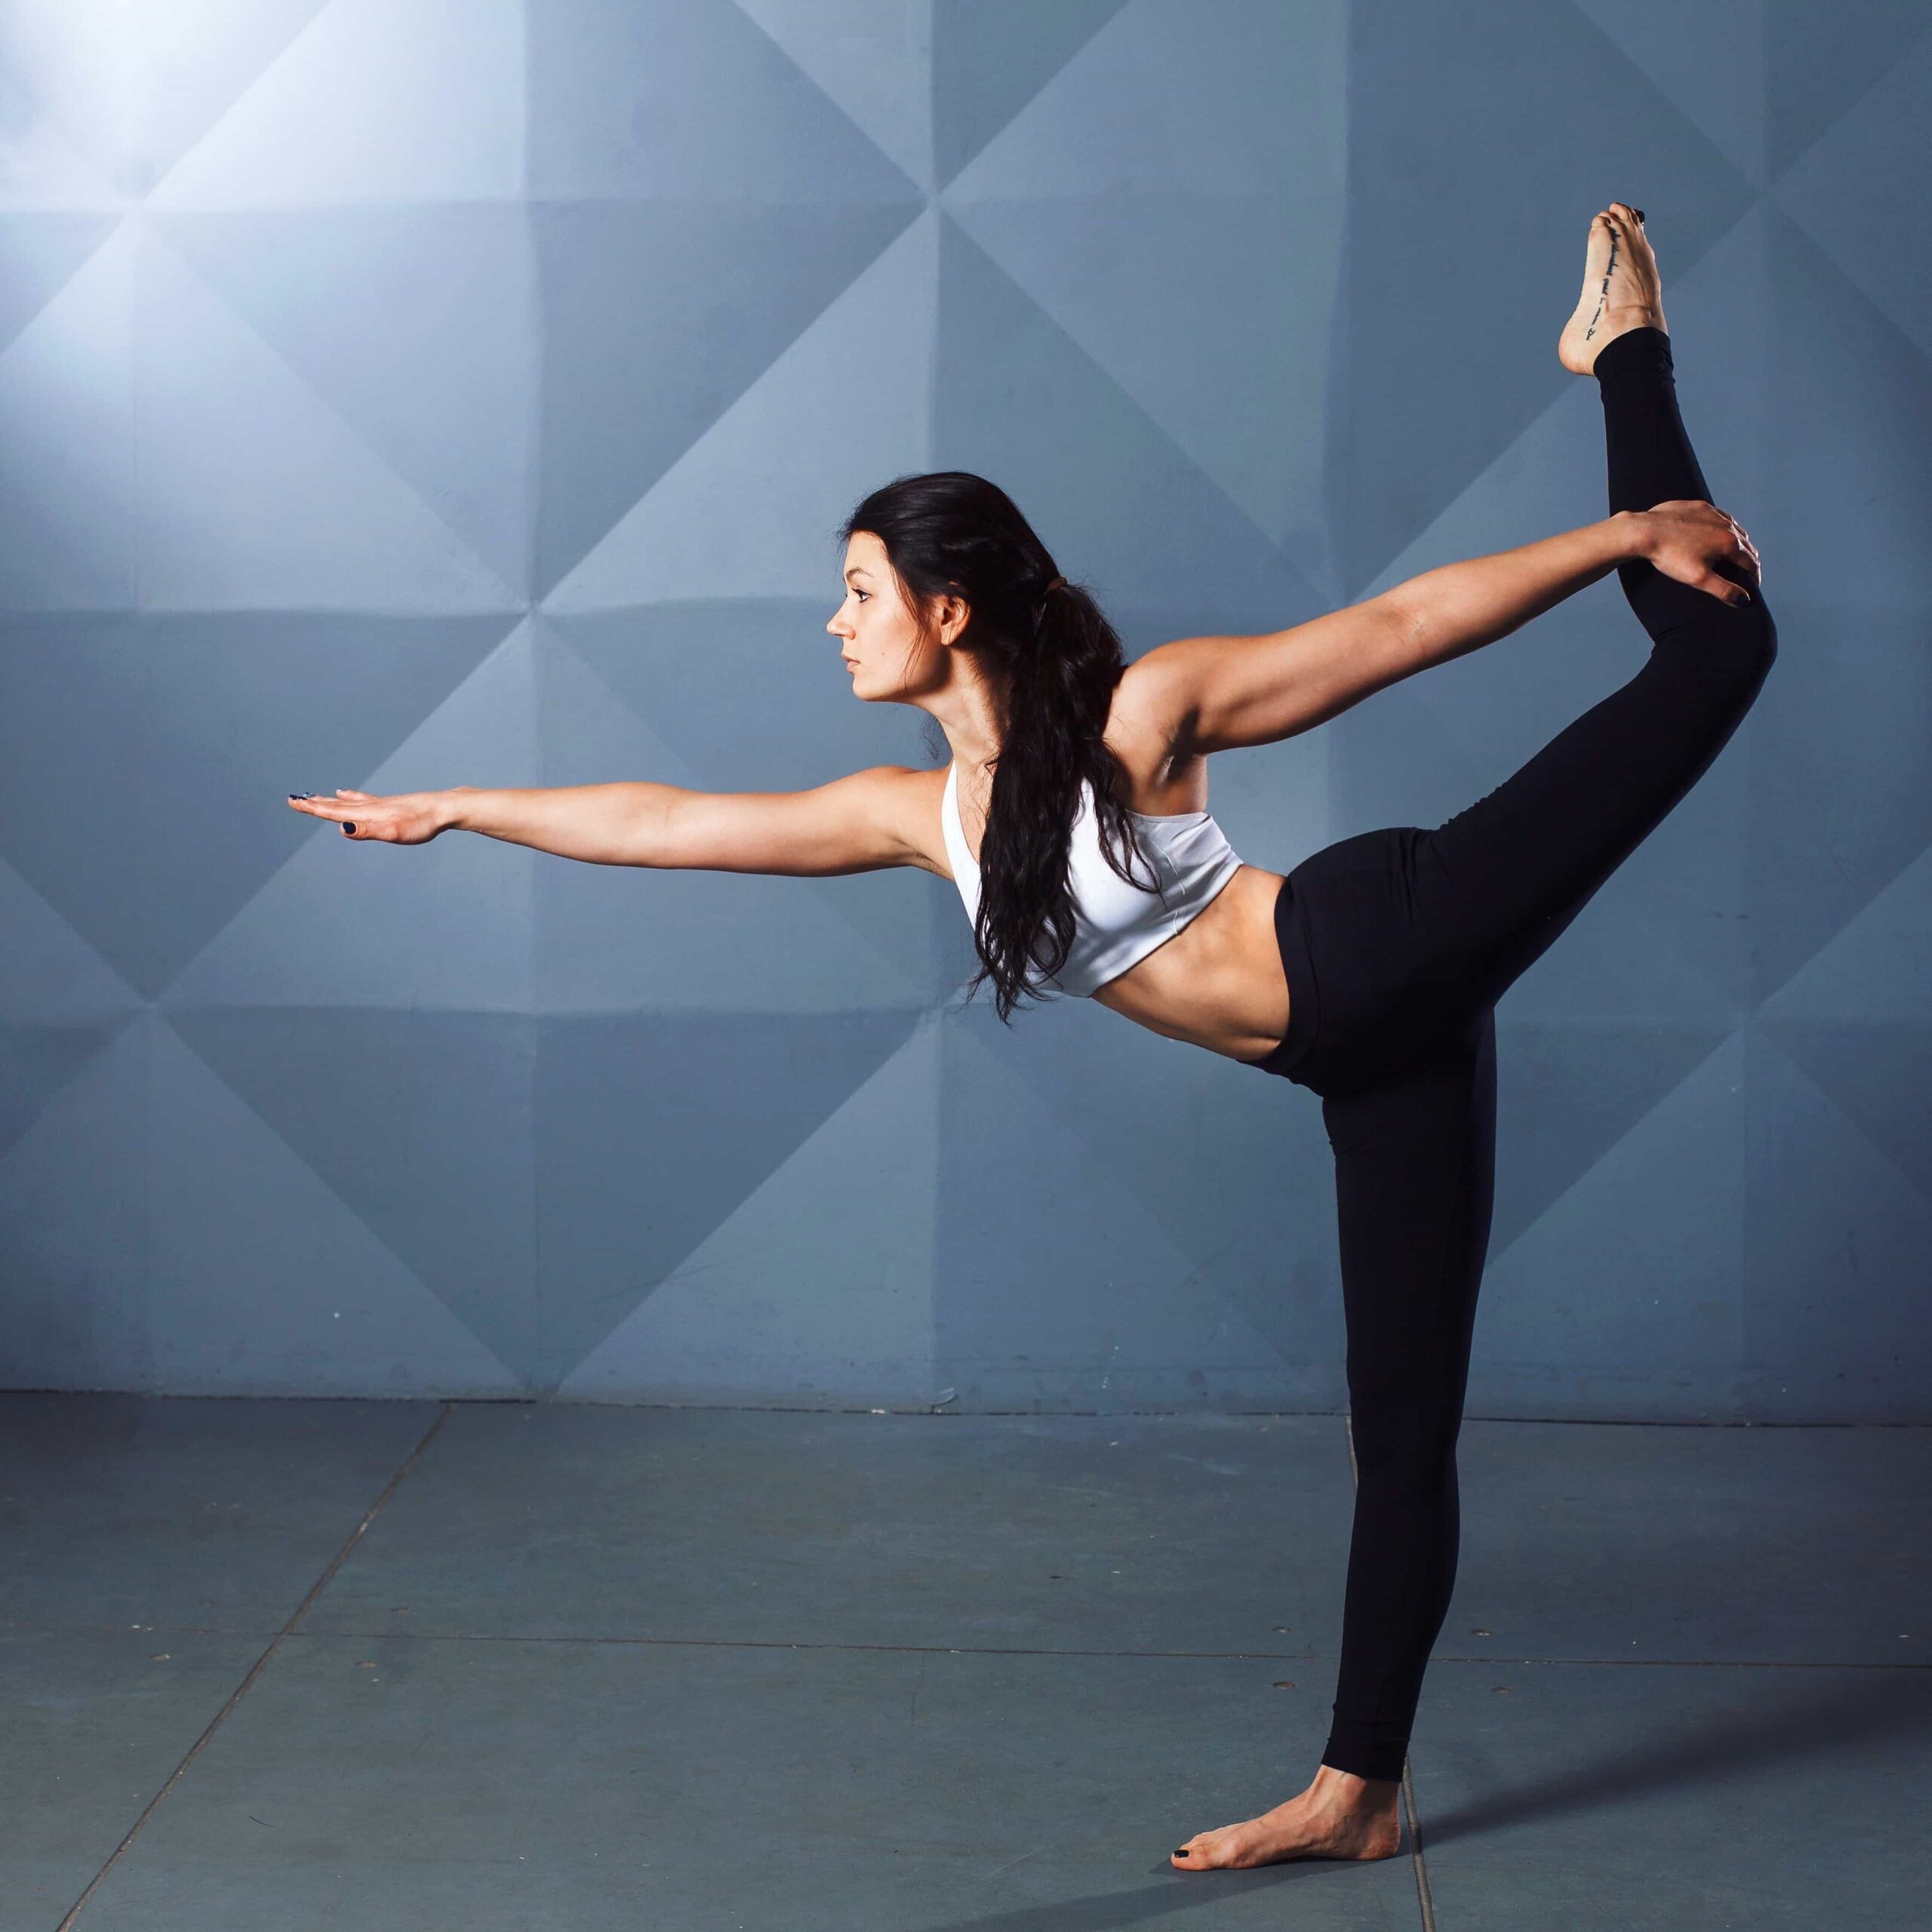
Yoga
Whether it’s physical, mental, or emotional, yoga will cover all three while staying light and gentle on any shin splints. With the ability to modify as need be, each stretch will allow your body to stay connected and in touch. Secondly, new research shows that meditation, (commonly practiced in most yoga studios,) has shown correlation to lower levels of stress, a quickened healing process and deeper connection with the body.
Lastly, maintaining a strong level of flexibility and mobility will be key in allowing your body to heal as well as being more resilient to another occurrence of shin splints. By putting the lower extremities through proper and full ranges of motion on a daily basis, multiple times a day, the body will continue to take note and continue healing the damaged area. Both flexibility and mobility can be achieved through daily movement, i.e. walking, swimming, and yoga.
Foam Rolling and Shin Splints
More times than not, I’ll have athletes in the gym come to me asking for a remedy to tight muscles or for ways to dissipate pain and overall soreness and discomfort. In fact, 99% of the athletes and people I see on a daily basis suffer from a very common ailment – immobility and inflexibility, also known as imbalances.
Shin splints are no exception.
When asking the body to move long distances, under load, quickly without proper warm up, cool down, stretching or mobility work, imbalances will undoubtedly occur. Make no mistake, even with a proper warm up, cool down, stretching, mobility etc. they may still occur. That’s just life doing life’s things on life’s terms. Despite that, it is our duty to do our best to prevent, maintain, and address the situations as they come to light.
Can foam rolling help prevent the onset of shin splints, help dissipate the pain of shin splints as well as rid your body of shin splints? Most signs point to yes! Here are the top foam rolling drills that can help you stay clear of shin splints and help fix them after the fact.
Fixing Your Calves
- Start sitting on the floor, the roller perpendicular and underneath an ankle.
- Both hands can be planted slightly behind you to help keep you supported & upright.
- Taking the opposite leg (non active leg) place it on top of the active leg. (if this is too aggressive feel free to leave it off and to the side.)
- Start static just an inch above your ankle joint for a minute. After time expires, start to rock and roll your active leg & foot left and right.
- After another 30 seconds – minute, find static once again.
- Using the arms, lift your hips and body a couple inches off the ground and push/move your body down forcing the roller to travel up the calf just an inch or two.
- As per usual, your body will respond letting you know about the next spot that needs a little love.
- Once you find a new spot, repeat the prior instructions.
- After finishing the calf, ending just under the back of the knee joint, lift the hips off the ground and travel the body up forcing the roller back towards the ankle.
- Repeat the roll out for the next minute or 3-6 times.
- As per usual, upon completion, is it highly advised to walk around, hydrate and put the targeted area through some range of motion.
- Repeat the opposite side when ready.
Peroneals
- Start in a tabletop position, hands under shoulders and knees under hips. The roller will be placed under one of the knee joints.
- The leg not being rolled out can remain on the floor in a 90* bent at the knee position or if feeling spicy, the opposite leg (non active leg) can be placed on top of the active leg. (again, if this is too aggressive, feel free to leave it off and to the side.)
- Start static just an inch below your knee lateral to the shin (outside your shin bone). After a minute, start to slowly descend down the peroneals (outside of your shin).
- After finding the next tender spot, hold for 30 seconds – minute, find static, breathe and relax.
- While on a tender or hot spot, flex, point, and rotate the ankle. This will cause muscle tissues to activate, lengthen, and contract. While under compression from your body weight on the roller, the tissues will start to slide, helping dissipate encapsulation of the tissues.
- Repeat this slow descent with ankle articulation until the roller has reached just superior (above) the ankle joint.
- Slowly ascend the roller up the peroneals, until it returns to the origin.
- Repeat slowly rolling up and down the peroneals 3-5 times without pause and keeping the ankle relatively static.
- Upon completion, walk about, stretch the calves, rotate the ankle and hydrate.
- Repeat on the opposite side when ready!