Thread The Needle
The pigeon pose is a classic stretch that you’ve most likely done if you have ever attended a yoga class or general fitness class. Pigeon pose is a big hip opener that helps increase flexibility and mobility in the hip joint. It can be quite intense, especially if you have really tight hips and back.
A lesser-known counterpose to the classic pigeon is the thread the needle pose – or also called the reverse pigeon. Thread the needle is a restorative pose that helps open the glutes and hamstrings. It can also release tension in the lower back area. Commonly used by runners, this pose is an effective pose to incorporate in warm ups and cool downs.
This pose is a more subtle stretch as compared to traditional pigeon pose and therefore might be better if you are just starting a stretching routine. This pose also targets the muscles a little bit differently, so you could most certainly incorporate the pigeon pose and the thread the needle pose into your same routine.
Now that you have an idea of what thread the needle is, let’s dive in a bit deeper. Let us walk you through how to complete this pose step-by-step, the benefits you receive from this stretch, and any modifications you might need to make.
What is the Thread the Needle Pose?
The thread the needle pose is also known as the “reverse pigeon pose.” This pose is named because you “thread” your arms through your legs, like you would a piece of thread through the eye of a needle. This is considered a supine posture which means that you perform it lying face up on the floor. Because you are connected to the floor while holding this stretch, you may find this pose to be quite grounding.
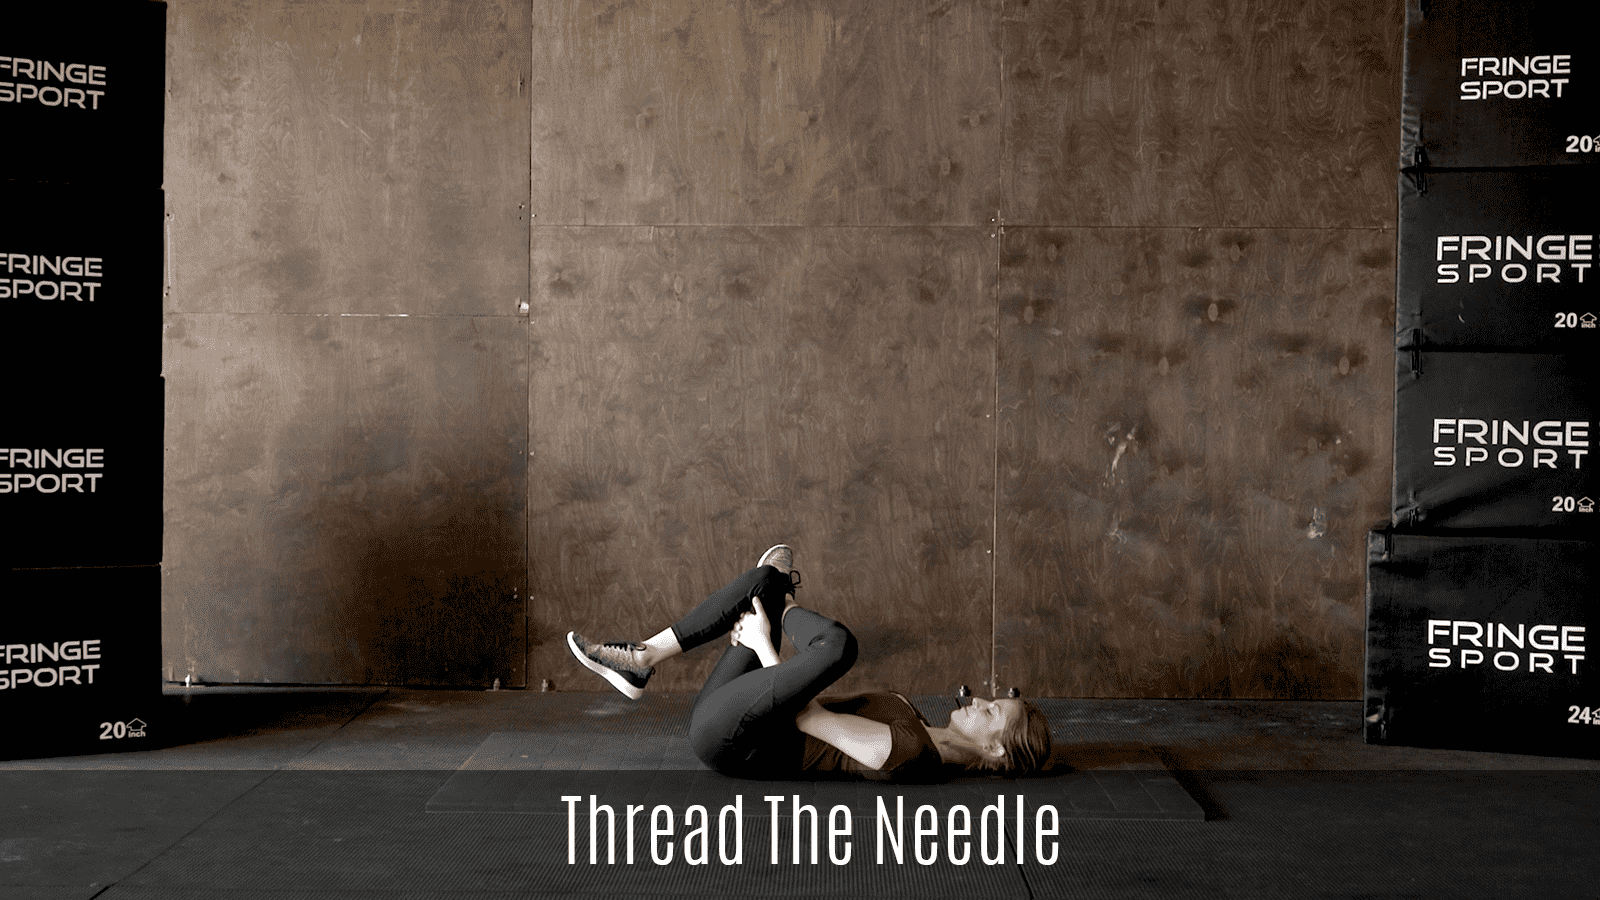
To begin this pose, come onto your back on the ground. Place both feet flat on the floor and bend your knees at a ninety degree angle. From here, connect to your center as you lift your left foot and bring it to rest on the top of your right thigh just above your knee.
Next, take your left arm and “thread” it through your thighs. Take your right arm around the outside of your right thigh. Clasp your hands on the back of your right thigh. Once you’ve laced your fingers together on the back of your thigh, gently pull your right leg closer to your body. It is important to think about flexing both of the feet as you hold this position. This will help keep the muscles engaged and protect the knee.
At this point, you should feel a nice stretch in your glute muscles, hamstring, and potentially even a release in the lower back. While holding this stretch, think about keeping the back of your head and neck connected to the floor. You can also think about pulling your rib cage down and pressing your low back into the floor as you lengthen your spine.
Hold the stretch here in this position for at least 30 seconds. Breathe deeply as you allow your body to sink into the posture on each exhale. After you have held for the desired amount of time, slowly unwind and come back into the starting position with both feet planted on the ground. Switch sides and hold for the same amount of time on the other side.
Thread the Needle Pose Benefits
This pose targets tight glute and hamstring muscles. Because it is performed on the floor, it might be a better option for people who feel pigeon pose is too intense or deep. Lying on the floor also helps the spine decompress which could bring much-needed relief to people who suffer from back pain especially in the lower back region.
This pose will help strengthen and lengthen the targeted muscles. If you are a person who sits in a chair or at a desk for extended periods of time, this stretch will bring some much-needed relief to these tight muscles. Thread the needle is also a great stretch to include in your cool-down routine after a workout. No matter if you are a runner, yogi, weightlifter, or general exerciser, you should incorporate this stretch as you cool down and recover from your workout of the day.
Thread the Needle Modifications
As with many other stretches, the thread the needle pose can be modified to meet your current ability level. If you find that this pose is still too intense for your needs, you can adjust the deepness of the stretch by not bringing your leg so close to your body. You can even keep your foot planted on the ground instead of raising it up off of the floor.
This stretch can also be performed sitting in a chair. To do this one sitting in a chair, sit up straight with both feet planted on the ground. Bring one foot to rest on the thigh of the opposite leg and then fold your chest over your leg to target the glute muscles.
If you ever feel pain while holding this posture, unwind from the pose immediately.
Start on your back, with both knees bent 90*. Take the left ankle onto the right knee. Slowly draw the left arm through the thighs and the right hand just outside the right thigh. Interlace the hands behind the right knee, while maintaining your head and tailbone on the ground.